Understanding the Power BI Incremental Refresh and Data Gateway Setup
What is Incremental Refresh:
If the dataset is too large, pulling the whole data each time for refreshing is time-consuming and not a good technique. So Incremental Refresh comes as a time savior. It loads new or updated data, the most recent data since the last refresh instead of refreshing the whole table.
Incremental Refresh VS Complete Refresh:
Complete refresh takes a long time, it takes resources and memory at each refresh.
It loads the all data in the table completely even if some data is the same as it was
before the refresh took place.
Whereas incremental refresh minimizes resource consumption and saves memory.
It partitions historical tables, splits data into partitions into time slices
automatically, and refreshes the current or updated data only.
Explanation:
The Incremental Refresh filters the data using two parameters that are applied to the Date/Time column. RangeStart and RangeEnd are Case-sensitive parameters. The model is filtered on a small period of data from RangeStart (It is used to specify the start of the model) and RangeEnd (It is used to specify the end of the model). These parameters are overridden by the service automatically. Then the incremental Refresh is applied to the dataset. The model will refresh automatically as scheduled by the users.
Use case Scenarios:
Imagine the scenarios where we have millions of data that are updated frequently
daily like patient data in the hospital, transaction data, birth and death data, etc.
Refreshing them completely could be time-consuming. So use incremental refresh
for such cases.
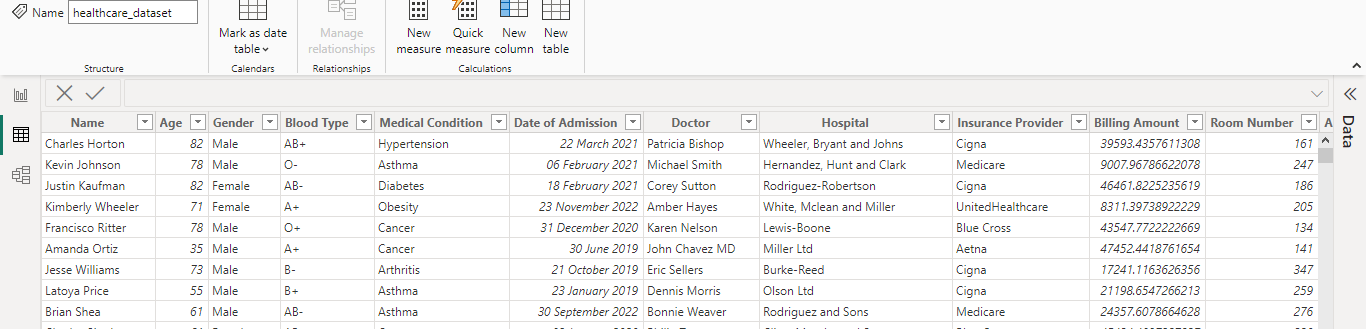
We will use the healthcare dataset scenario. This dataset has patient data from
different hospitals. Let's implement the incremental refresh on this.
Implementation of Incremental Refresh on HealthCare Dataset:
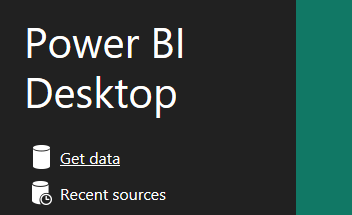
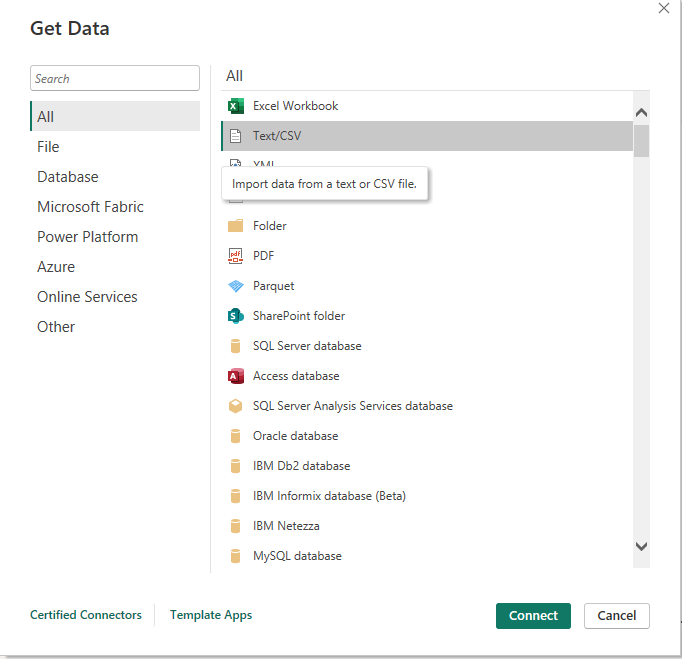
Step 1: Connect to the dataset
- Create a new project and go to the Get Data option.
- Select the data source connection type i.e. CSV file.
- Import the data and load.
- The dataset is shown below:
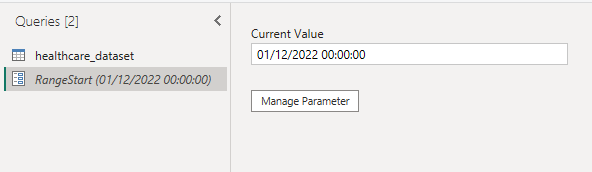
Step 2: Create RangeStart and RangeEnd params
-
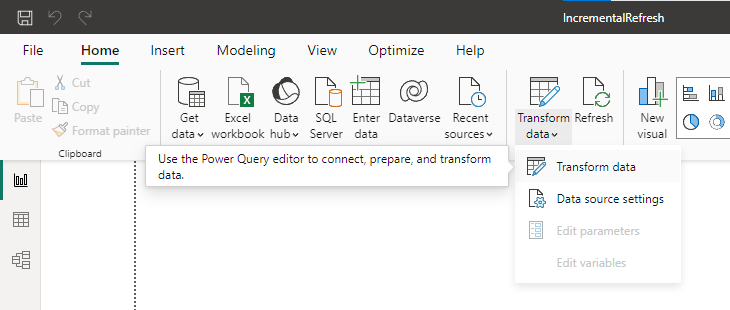
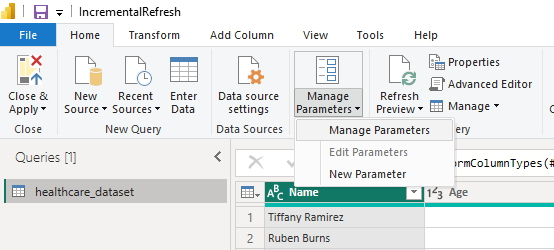
Go to Transform data to use Power Query Editor.
- Go to Manage Parameters.
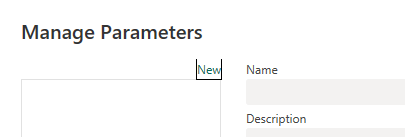
- Click New to create a parameter.
-
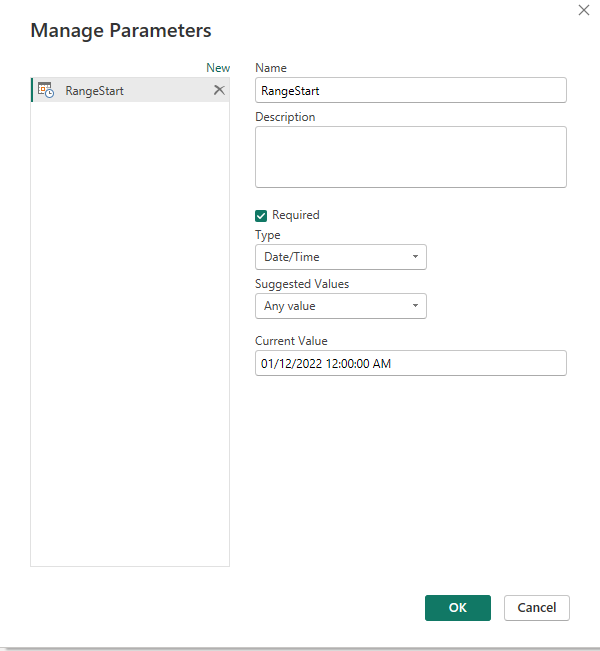
Create RangeStart Parameter. Give a name. Remember that the name is
Case Sensitive. Now select the type as Date/Time and give the start date and
time in the current value.
- The parameter is created.
-
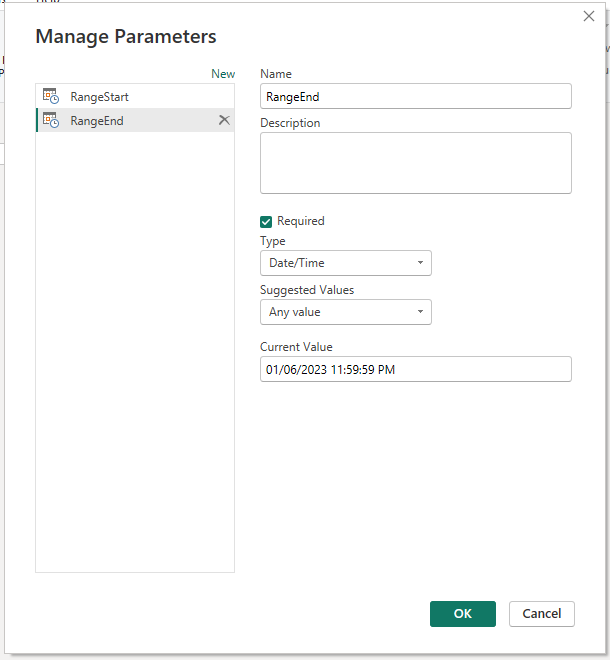
Go to the manage Parameters again to create the RangeEnd Parameter. Enter
the name and type of the parameter. Give an end date/time value.
- The RangeEnd parameter is created as shown below.

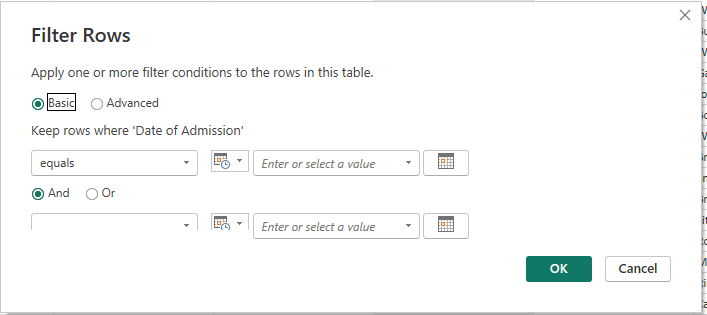
Step 3: Apply Filter on the Date/Time column in the model
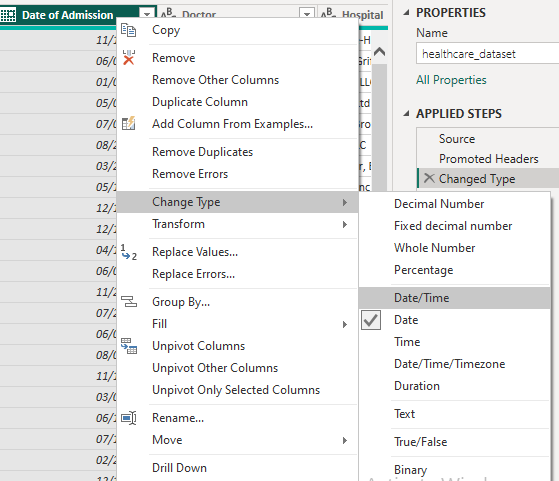
-
Now check the data type of the column on which these parameters are
applied. If the type is not Date/time, change it to date/time.
-
We can filter the model using these parameters as the type of column is
converted to date/time.
-
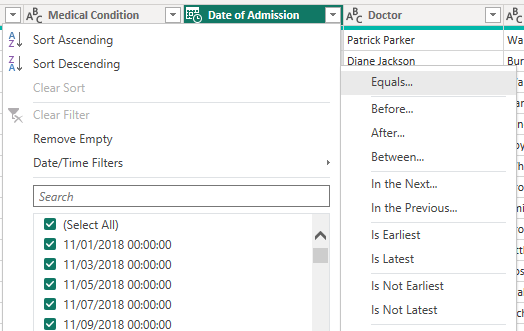
Select the date of Admission column from the model, click the little arrow on
the right of the column name, select date/time filters and then click equal.
- The following dialogue box opens.
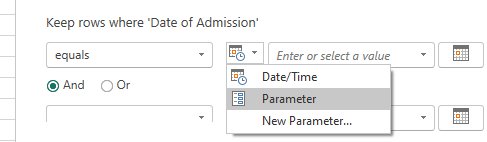
- Select the parameter option from the dropdown.
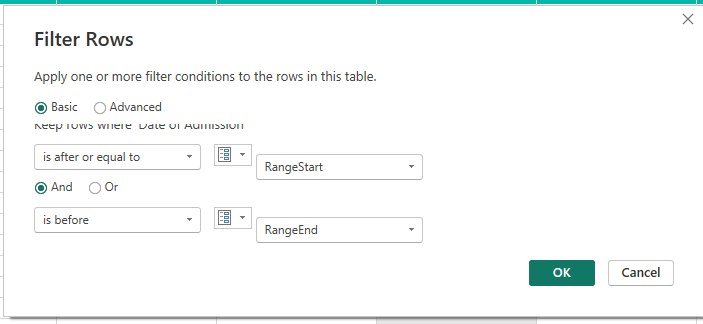
-
Select RangeStart as Is after or equal to then select AND, select Is
before for RangeEnd. Click Ok.
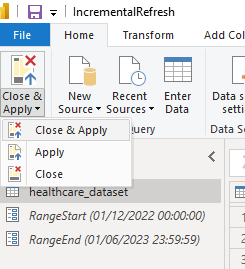
- Now select the close and apply to exit the Power Query Editor.
-
The model after filtering looks like this: It contains the data from the date
time as provided in RangeStart and ends at RangeEnd value.

Step 4: Apply Incremental Refresh on the dataset
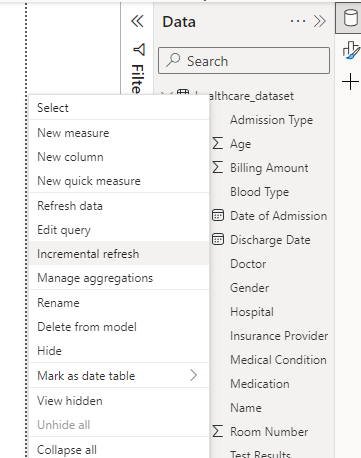
- Right-click the dataset and select incremental refresh.
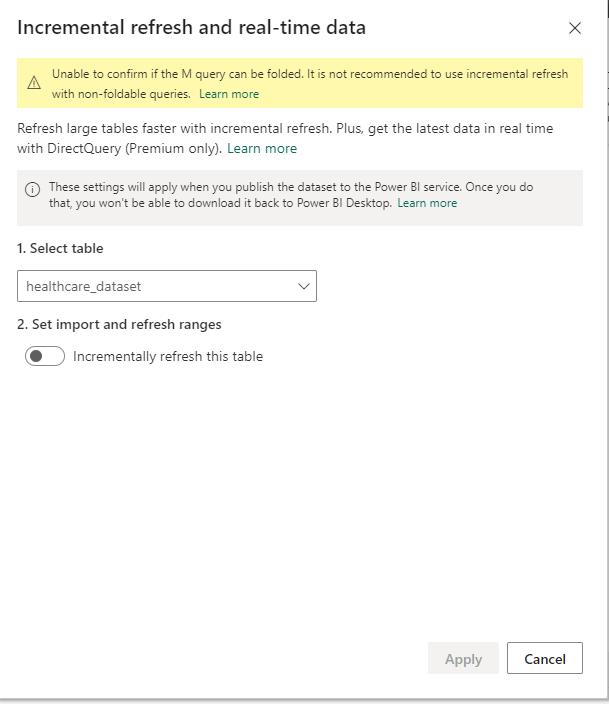
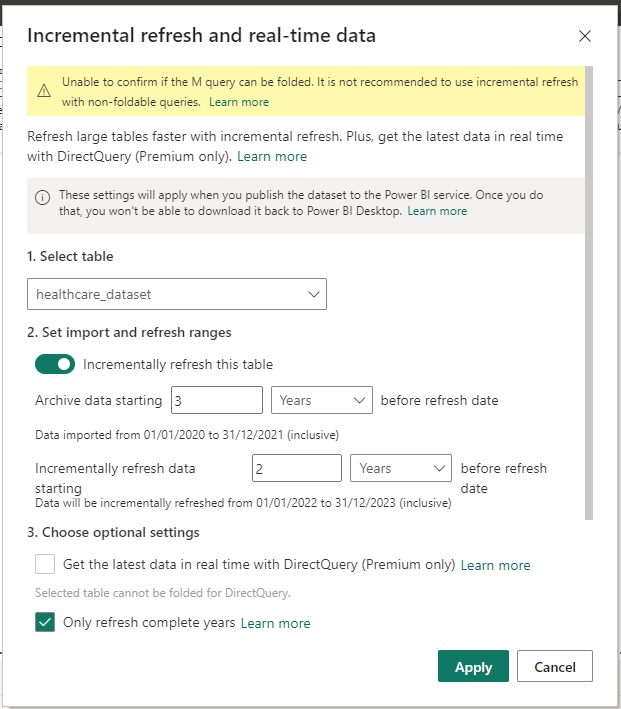
- The following dialogue box opens.
-
Select the table, and enable the incremental refresh button. Then there are
some customization options. The first one is to keep to the historical data in
Power BI data and the second is to customize the data to be refreshed, which
covers data refresh. Mark the checkboxes and apply all.
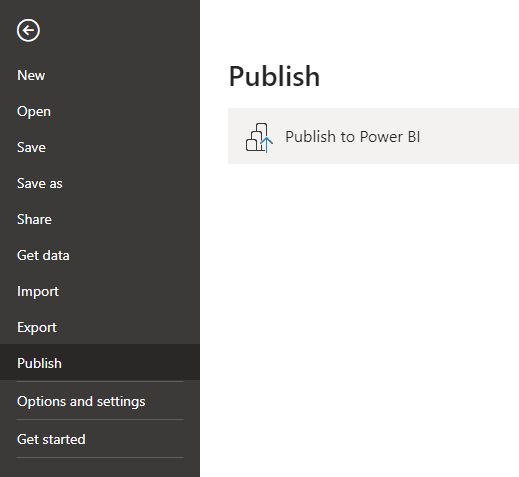
- Save all and publish to Power BI workspace.
Step 5: Refresh the Semantic Model
- Open the Power BI Service where the report is published.
- You can refresh the semantic model data using the following options:
- Using this arrow.
-
Open the semantic model and click the refresh button in the top left
corner.

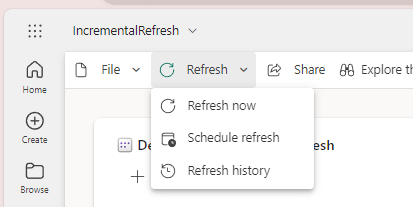
- Using this arrow.
-
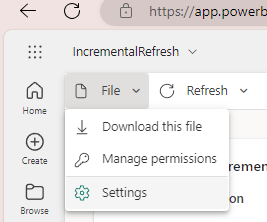
But the refresh option should be enabled before using the refresh option
otherwise the refresh fails as shown below.
-
To prevent the failure, you need to enable the refresh option. For this go to the
settings of the file.
-
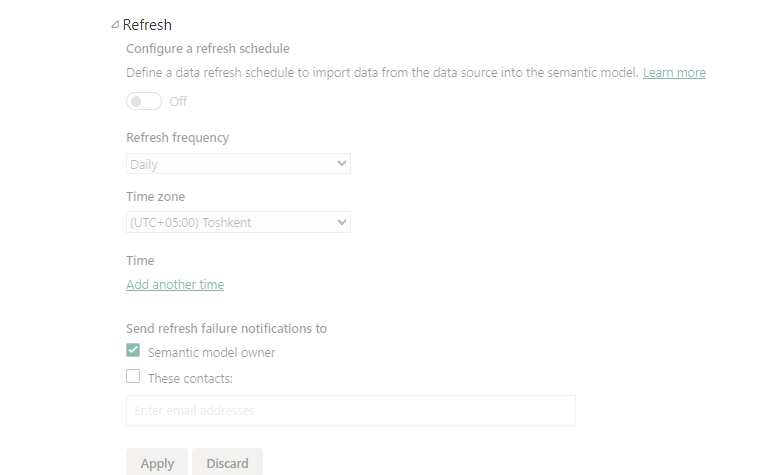
But as you can see the refresh option is greyed and cannot be enabled. This is
because the Power BI Gateway is not configured in the system.


Step 6: Setting Up the Gateway in the Local System:
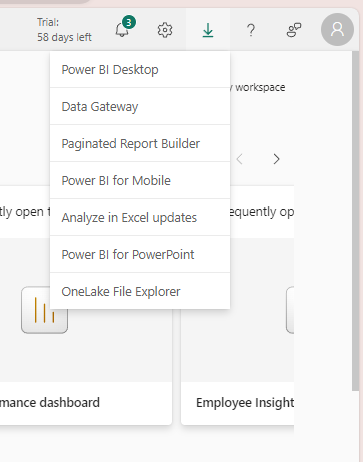
-
Go to Power BI Service and in the top right corner, there is a download
option. From the dropdown select the Data Gateway option.
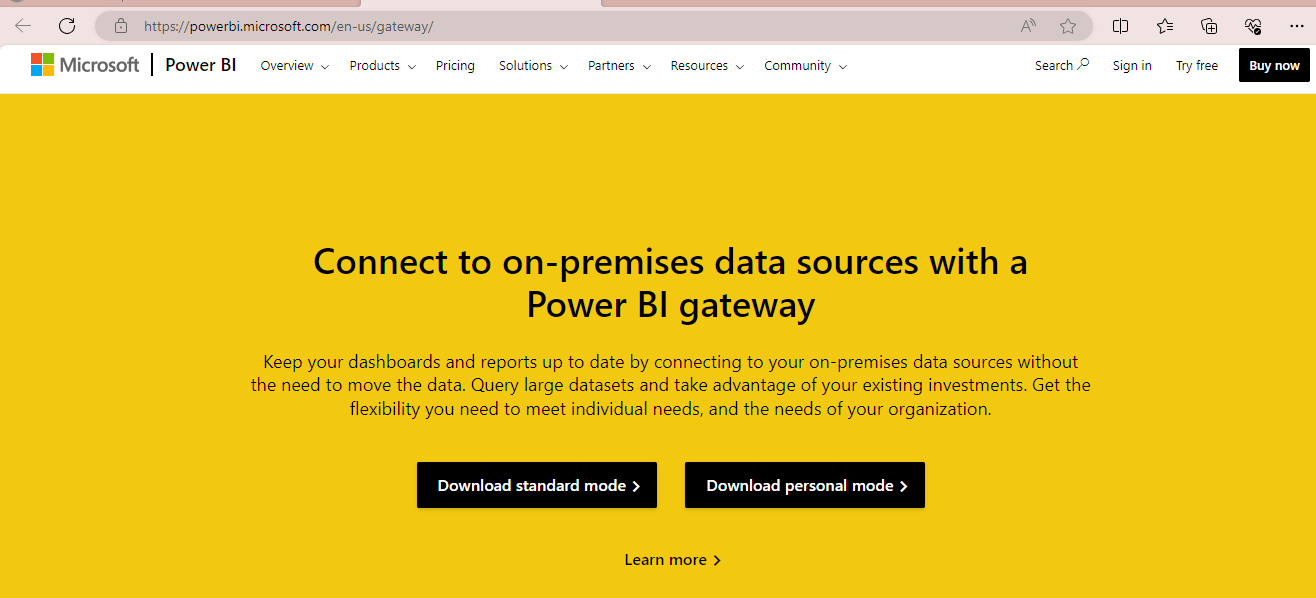
- The following webpage opens.
-
Download Personal Mode if you are the individual user otherwise, download
Standard Mode for organizational use.
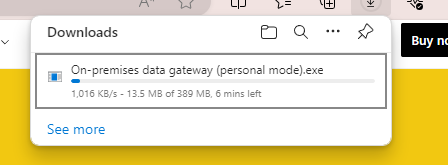
- Open the exe location. Click on the exe to install the gateway.
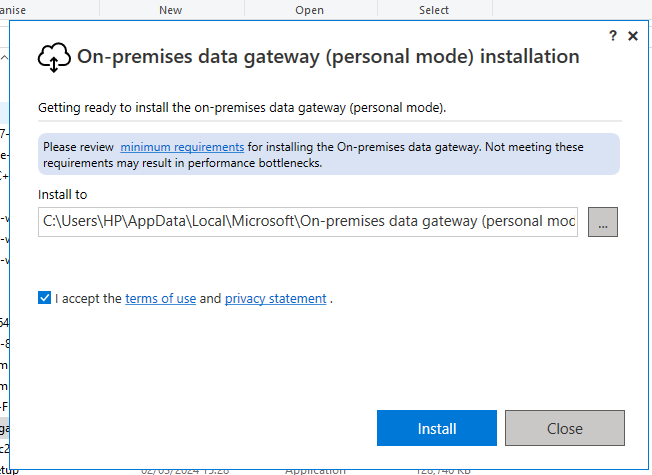
-
Select the location to install. Keep in mind the location must match the local
premises.
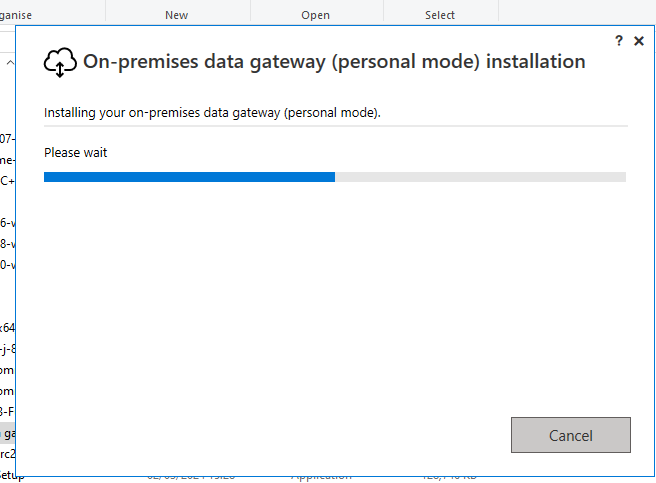
- Click install.
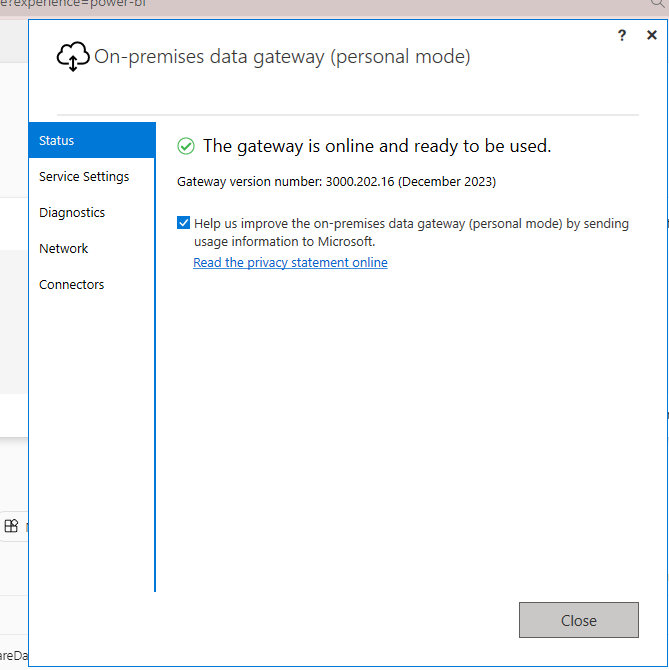
- The gateway is set up. Close the window.
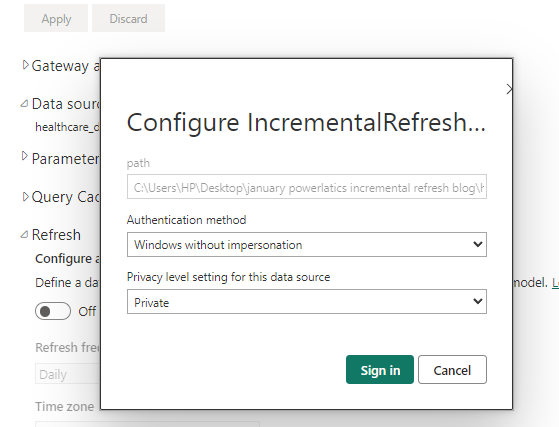
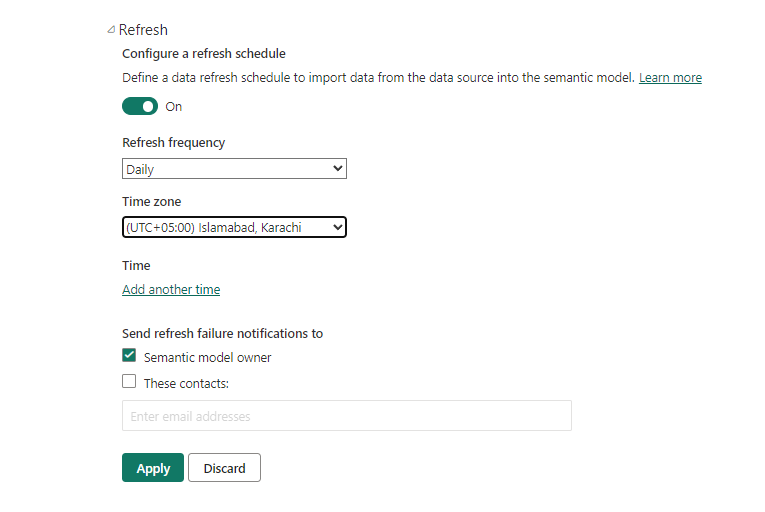
- Configure Incremental Refresh. Select authentication mode and privacy level.
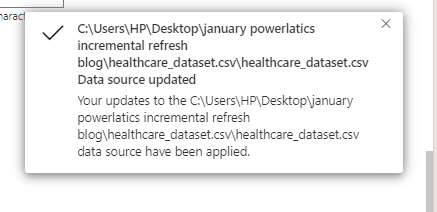
- The updates are applied to the datasource model.
-
Now as you can see the refresh option is not greyed after the gateway
configuration. Enable it, and select the refresh frequency and time zone to
schedule the refresh.
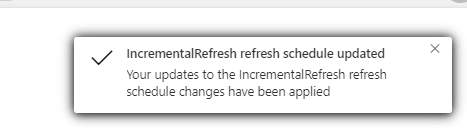
- The schedule changes are applied to the project.
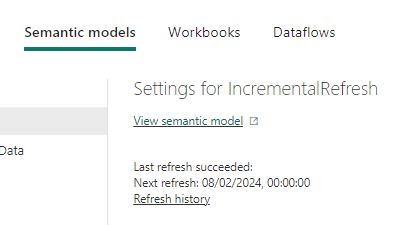
- Now refresh the semantic model as explained in the previous steps.
- The next incremental Refresh is automatically scheduled.
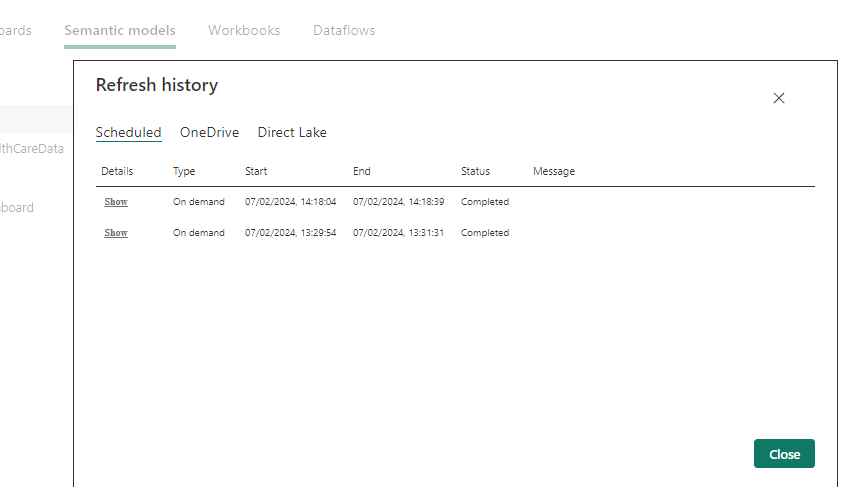
- You can also view the refresh history.